 In my quest toward a more healthy, whole, and holistic life, I have taken to making a lot of my own personal care products. It started with Lip Balms and Sugar Scrubs, and progressed into the most fantastic deodorant I’ve ever used, and now I have progressed into the world of toothpaste.
First things first, I have a HORRIBLE fear of the dentist. Specifically dental work, cleanings are okay. Its not even something I can control. I have tried everything I can think of to be zen and calm and talk myself through it, but no matter how hard I try, the second I hear the drill, my body goes into fight or flight mode and I have a full blown panic attack. I’ve even tried taking anxiety medication, but nearly rolled out of the chair trying to get away. The only thing that works is full sedation dentist visits, and it ain’t cheap. A few years ago I had to have 3 crowns, and I’ve had many cavities in my life, and there was threat of a future root canal. So I have more incentive than the average Joe to avoid extensive dental work.
Almost 3 years ago we stopped using Fluoride toothpaste. (Here’s why). At first, the switch to a popular “natural” brand was protested by my husband but we soon got used to the smooth, minty, so-close-to-conventional toothpaste that we couldn’t tell the difference. I thought I was doing so great with my healthy toothpaste.
And then I heard about Weston A. Price.
In short, in the 1930s a dentist by the name of Weston A. Price set out across the globe looking at the teeth of indigenous tribes and people who did not have access to modern dentistry. To his surprise many of them had fabulous, strong, white teeth, with little or no decay. He figured out that the common denominator was a diet that was rich in fats, bone byproducts, meats, and mineral rich vegetables. They also did not consume modern western foods like flours, refined sugars, or vegetable oils.
There is a ton more about this subject and I highly suggest you research it. Beware, it is a fascinating vortex of information that will suck you in if you’re a nerd like me. Sarah Pope from The Healthy Home Economist has an insane amount of content about this topic on her blog.
And here is a video that is a great place to start.
Wellness Mama’s blog is another great place to start. She has a wealth of information about the history and background of this fascinating research.
From her blog:
As Dr. Weston A. Price found and detailed in Nutrition and Physical Degeneration, there were cultures throughout the world who had perfect teeth despite no access to dentists or modern toothpaste, while similar cultures with different diets had very high rates of tooth decay. He found examples of cultures with similar genetic backgrounds with some living in primitive type societies and eating primitive type diets and others who ate a modernized diet. He found that many primitive cultures were able to completely avoid tooth decay and the many oral health problems we struggle with today.
Price hypothesized that several dietary factors contributed to this difference in oral health.
Sir (Dr.) Edward Mellanby (he discovered Vitamin D) and his lovely wife Dr. May Mellanby were also influential in discovering the roles of nutrients in oral health. These two contributed much research in the areas of bone and tooth health and mineral absorption.
In fact, it was Edward who discovered that Vitamin D deficiency caused rickets. They also discovered that tooth structure is determined during a child’s growth, and that poorly formed teeth are more likely to decay (pretty logical).
Sadly, the most commonly eaten diet in America these days is high in grains, sugars, and vegetable oils, and low in animal fats and fat soluble vitamins- the exact opposite of what the Drs. Mellanby found to be helpful for optimal bone health and the prevention of tooth decay.
The good news is that teeth (and bones) are able to heal themselves in a process called remineralization. Basically, specialized cells in the center of the tooth are able to regenerate dentin, the layer of tooth just under the enamel, and the enamel can then properly remineralize from the outside. This same process happens in bones when phytic acid is removed from the diet and minerals/fat soluble vitamins are added.
This brings me to the topic of Remineralization and Remineralizing Toothpaste.
In addition to following a diet that is…
a) Rich in minerals and nutrient dense REAL foods.
b) Low in grains, sugars and foods high in Phytic Acid.
…using a remineralizing toothpaste can actually help to heal and prevent cavities. Beat THAT Colgate! This recipe has zero artificial ingredients or chemicals, and includes plenty of naturally occuring trace minerals to make your teeth strong. Plus it is excellent for healthy gums, fights the bacteria that cause bad breath, whitens teeth, and leaves your mouth feeling clean and fresh.
Seriously, my teeth feel SO much more clean since I started using this. Now let me warn you. This is NOT your conventional toothpaste. It definitely has a different texture and mouthfeel. Its slightly grey, it does not foam, and the texture does take some getting used to. My husband says it feels “healthy.” It tastes good thanks to the xylitol and essential oils, but the mouthfeel definitely takes some getting used to. But honestly once you get used to it the benefits will really have you hooked. Within one week of use I noticed my teeth were whiter, my gums looked pinker, brighter and healthier, my sensitivity was greatly reduced! And that’s a big one. I have had sensitive teeth since I was a kid, like VERY sensitive. Also, after using it for a few weeks I noticed that my morning breath is virtually eliminated. Plus my teeth feel sooo much cleaner. Did I say that already? I used my old toothpaste for comparison and my teeth felt grimy compared with how clean they feel after using the new stuff.
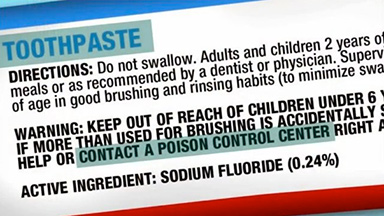 Need more reasons to switch? Many conventional (and even some so-called natural) toothpaste brands contain harmful chemicals and poisons. Has it ever concerned you that there is a WARNING label on conventional toothpaste tubes? Not exactly something I want to see on a product I’m putting in mine and my kid’s mouths multiple times a day.
Here are just 3 of the delightful (sarcasm) ingredients you can expect to find in many storebought brands. Read about more here.
Fluoride: Besides the fact that it actually does nothing to help strengthen teeth or prevent decay fluoride is a toxic chemical that accumulates in your tissues over time, wreaks havoc with enzymes, and produces a number of serious adverse health effects, including neurological and endocrine dysfunction.
Triclosan: Remember the big stink about triclosan being added to hand sanitizers? That’s because its toxic. This endocrine disrupting chemical is added to toothpaste for its antibacterial effect but it comes at a cost. “Endocrine-disrupting chemicals are a serious concern, as they can promote a wide variety of health problems, including breast, ovarian, prostate, and testicular cancer, preterm and low birth weight babies, precocious puberty in girls, and undescended testicles in boys.”-Mercola
Sodium Lauryl Sulfate (SLS): SLS was originally marketed as a pesticide. Mmm delicious. This ingredients creates the fun foaming action of the toothpaste that tricks you into thinking your teeth are somehow getting extra clean, but it interferes with the functioning of your taste buds by breaking up the phospholipids on your tongue. Its also poison. Plus it doesn’t actually make your teeth any cleaner.
So I mentioned earlier that I switched to a “natural” brand a few years ago. Sure it didn’t have as much of the garbage as the conventional brands (although it still had plenty) but the main reason I decided to drop it was ingredient #2 on the list. Glycerin. Glycerin helps give toothpaste its nice slick mouthfeel, and is supposed to seal your teeth to prevent stains but the problem is in the sealing. When you seal off your teeth you prevent those glorious minerals from your new tooth mineralizing diet from redepositing in your teeth! We surely don’t want that.
So whats the big amazing solution? Make your own remineralizing toothpaste.
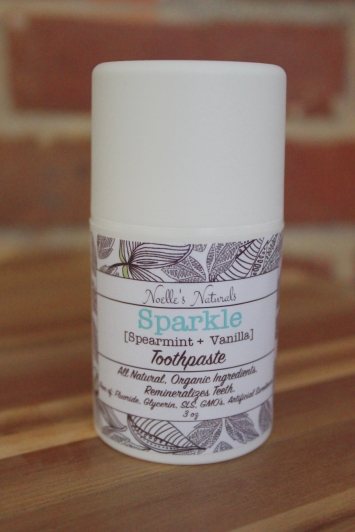
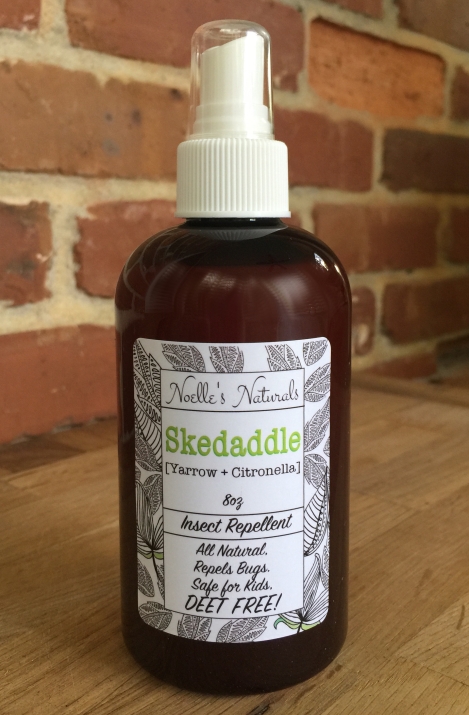
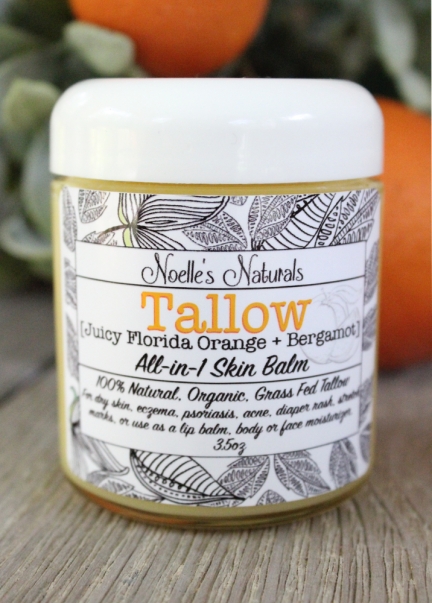
(Or if you ain’t got time for that, I have some ready made that you can buy here.)
Now lets talk about the ingredients in my recipe and what they do:
(click the ingredients for links on where I find mine.)
Calcium Carbonate- You can get this sourced from eggshells or limestone if you’re looking for a vegetarian option. If you’re ambitious you can make your own by drying out the eggshells in the oven and then blitzing them up in a food-processor. You can also get Calcium Carbonate in the form of Bone Meal powder. It is important to use a reliably sourced bone meal to ensure that there are no traces of lead in the product. The Bone Meal is also a great source of phosphorous which is important for remineralization and also some Magnesium and Iron.
Non-GMO Xylitol Powder– Xylitol is a natural sweetener derived from the fibrous parts of plants. It has a really nice cooling effect. “It does not break down like sugar and can help keep a neutral pH level in the mouth. Xylitol also prevents bacteria from sticking to the teeth. This is how it protects the teeth from tooth decay. With the dental benefits of Xylitol, the acid attack that would otherwise last for over half an hour is stopped. Most people are not aware of this benefit because such a claim makes xylitol into a drug, crossing a boundary not allowed by the Food and Drug Administration.” (Source: http://xylitol.org/xylitol-uses/dental-benefits-of-xylitol).
It is important to find Xylitol sourced from Birch and NOT from GMO corn. GMOs are counter-intuitive to what we’re trying to do here. We want to get healthy, not add more garbage to our toothpaste. Make sure you get Xylitol Powder, and not crystals. The crystals won’t dissolve in this recipe and you’ll end up with a crunchy toothpaste (Hey we’re crunchy but not THAT crunchy). If you can’t find the powder, you can quickly grind the crystals up in a coffee or herb grinder. Works great.
Diatomaceous Earth– D.E. As it is often called, is made up of 84% Silicon Dioxide (Silica), and it contains other essential trace minerals including calcium, titanium, boron, manganese, copper and zirconium. Silica is such an effective dentifrice, that diatomaceous earth was originally mined as tooth powder. It helps promote healthy tooth enamel, tooth decay and receding gums. It is a very mild abrasive so it works like a polish to scrub away plaque and grime and leave your teeth spic and span. Some people might say that DE is too abrasive but it is actually less abrasive than Baking Soda, and we have had no issues in my house, even on my toddlers teeth. You could certainly leave this out but then you’d be missing out on all that silica goodness.
Bentonite Clay– This ingredient is quite interesting to me. BC actually has a unique ability to bind to toxins, bacteria and heavy metals and pull them out of the mouth. It is also chock full of beneficial minerals like calcium, silica and magnesium.
Colloidal Silver– Colloidal silver is antibacterial, works to fight infections in the mouth, kill harmful bacteria, and prevent & heal gum disease.
Baking Soda – This is added for its teeth whitening and stain fighting properties. Baking soda is aluminum free, despite many claims on the inter webs to the contrary. Any brand will do.
You’ll note that coconut oil is not in my list of ingredients. We have a septic tank so spitting coconut oil down the sink was not an option for us. Plus I didn’t like the idea of my toothpaste hardening and softening based on the temperature of my house. If you’ve made other homemade toothpaste recipes in the past using coconut oil and haven’t been thrilled with the results, I think you might really like my recipe.
There are many different recipes out there but here is what I came up with after researching all the ingredients and looking into some of the most popular ready made products available out there.
This recipe makes 6oz (by weight).
- ½ cup Calcium Carbonate
- 3 T Xylitol Powder (or less if you like it less sweet)
- 1 T Diatomaceous Earth
- 1T Bentonite Clay
- 1 tsp Baking Soda
- 4 tsp Colloidal Silver (more or less depending on your desired texture)
- 10-15 drops Spearmint or Peppermint Essential Oil
- 5-7 drops Vanilla EO (optional)
- In a small glass bowl or measuring cup (I like mixing in a pyrex cup http://amzn.to/1TKTav8 because the handle makes it easier to hold while stirring), using a non metal spoon (remember the bentonite clay binds with metals, so we don’t want it binding with our utensils) combine all the dry ingredients EXCEPT the Bentonite Clay. I tried using a silicon whisk but it was too weak to blend the clays. I use a simple wooden spoon now.
- Stir in the colloidal silver 1 tsp at a time, until you get a very thick paste.
- Add the Bentonite Clay, and stir until it combines. The clay will seize up when it meets the liquid but keep stirring, it will relax and soften after a few minutes.
- Add the rest of the Colloidal silver, plus the EOs, until you reach your desired consistency.
Now for the tubes. I’ve seen lots of different options for storing your homemade toothpaste. From little jars that you have to either spoon out (who wants to keep an extra spoon on the bathroom counter?) or dip your toothbrush in (sorry that just grosses me out), to those squeeze pouches used for apple sauce. The squeeze pouches aren’t bad but they aren’t my favourite. I suppose you could figure out a way to squirt this stuff into an old toothpaste tube but it wouldn’t be easy and would probably be a big mess.
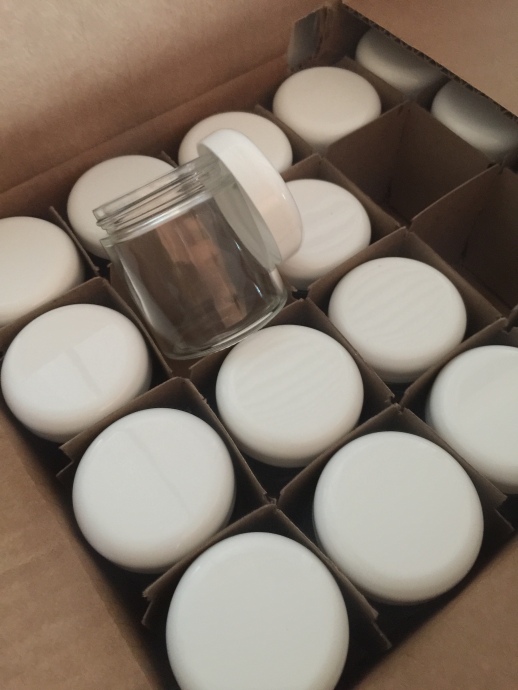
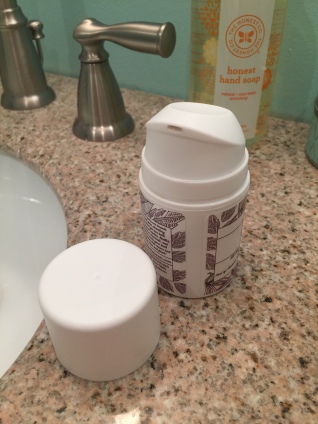 I have a much better solution. I REALLY like these airless pump tubes from SKS Bottle. They are perfect for this. You just spoon the toothpaste into the tube and pop on the cap. That’s it! And the toothpaste dispenses so easily from this tube. Its actually more sanitary than a regular toothpaste tube.
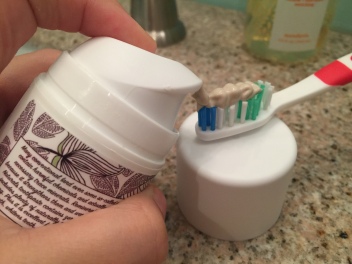
There’s no contact with your toothbrush, just one or two pumps, dispense right out of the tube and drop onto your brush. Easy peasy. Make sure you’re using a soft bristle brush. We have enough natural, gentle, abrasive action going on with this paste, we don’t need to tear up our gums with a hard bristle brush. I like these, the bristles are soft and the bamboo handles somehow seem more healthy and green. Somewhere in the world there’s a landfill that will thank you for using less plastic.

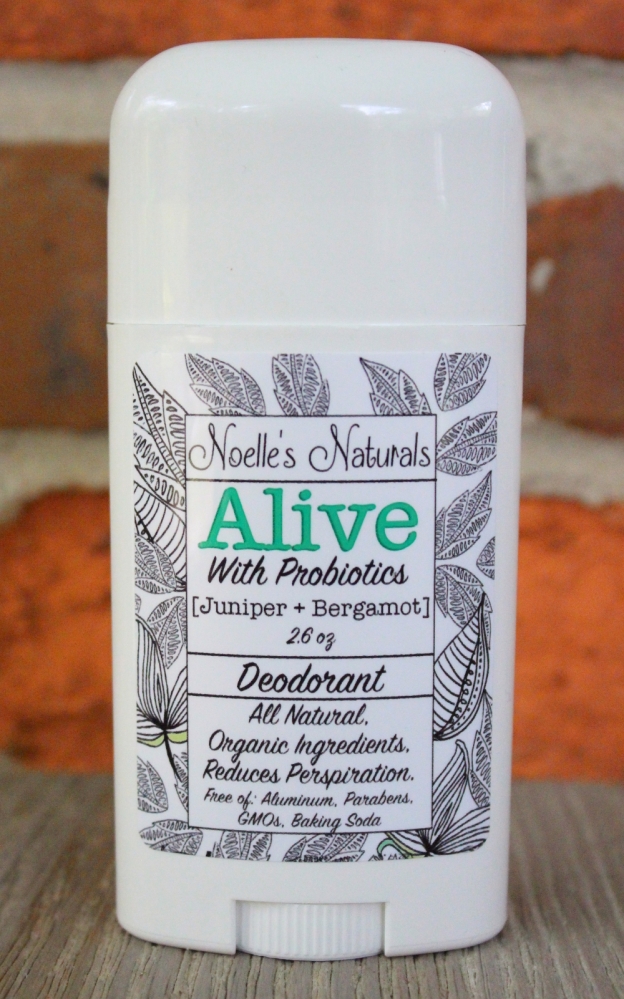

 Make sure you select a probiotic that is shelf stable and does not need to be refrigerated.
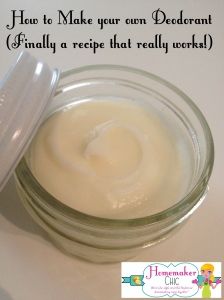
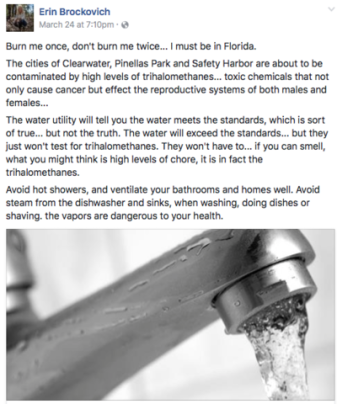 So when our family was hit with a terrible bout of dry skin (thanks to the Pinellas County water system for the delicious chemicals they recently dumped in our water), I turned to something different when Shea butter was no longer doing the trick.
 So we have recently taken up the Weston A. Price Foundation Diet or
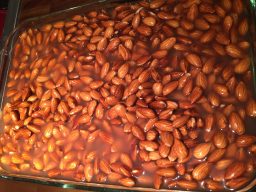
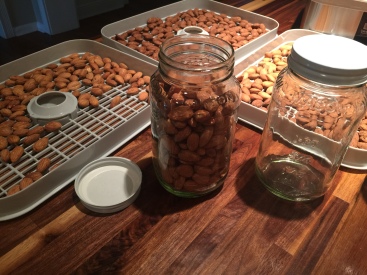
 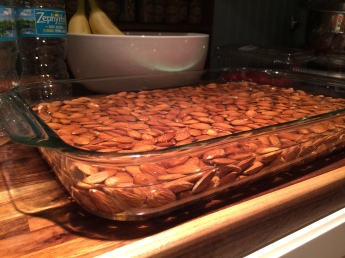 Step 3: Cover the nuts with filtered water. This needs to be water with no fluoride, chlorine, bromine, or other harmful chemicals. “Need” is relative. Obviously you can achieve the same results with tap water, but if your water is laced with all sorts of chemicals, you’re doing damage while trying to remove damage. Sort of defeats the point. You can buy spring water by the gallon at most grocery stores for dirt cheap, or just use small bottles. It only took me 2 bottles of water to submerge 3lbs of almonds in this 10″x15″ dish.
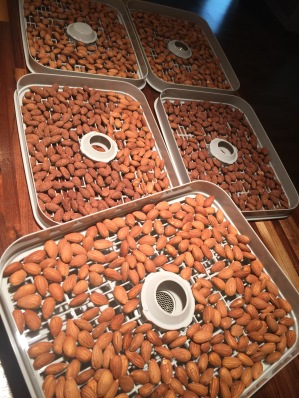
 Step 5: Once the nuts are done soaking you need to rinse them very well. I did this by pouring the nuts into a colander. Then returning them to the dish, filling it with clean water, stirring around well, then repeat. I did this 3 times. I felt like they got rinsed much better than if I had just run water over the colander.
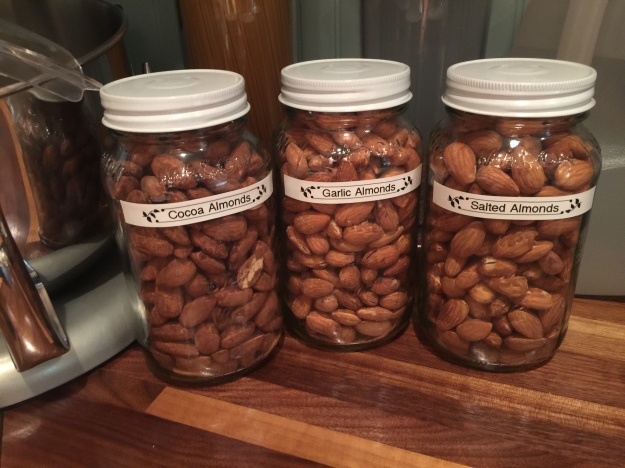
 Step 1: While the nuts are still damp (but not wet), sprinkle generously with desired seasoning. Now here’s the fun part. You can really get creative with your seasoning.
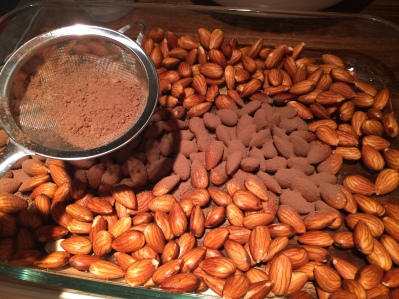

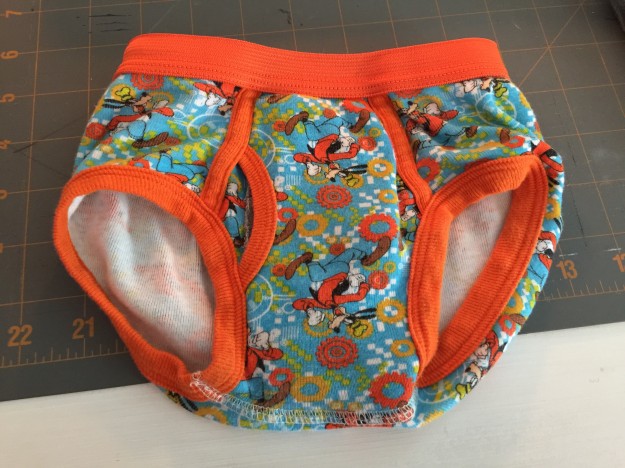
 He is doing really well and goes peepee in the potty about 75% of the time, but he hasn’t yet learned to let me know before he has to go. I just have to take him to the potty every 45 minutes. He willingly goes when I take him, but sometimes I get busy with the baby, or making dinner, or I just plain forget. And then we have accidents. He is very good at announcing that he has gone (or is going) peepee, so sometimes I can catch him in the middle of it and rush him to the potty. We have about 10 or so pairs of adorable little tiny toddler boy undies, but they are so thin that we had little puddles of pee on the floor.
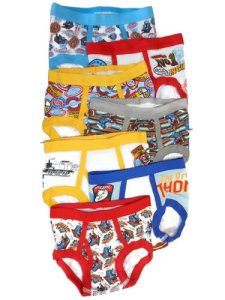
 I found these great toddler trainers on Amazon. They do have a little padding which helps with small accidents if I catch him in time, but they weren’t incredibly absorbent and we still had soaking through his pants. They are also not cheap. They run about $5.50 a pair compared with $1.35 a pair for the regular toddler underwear. You can also find many cloth diaper brands offering toddler training pants for as much as $20 a pair. Although I’m sure they’re quality products, its just not really something I wanted to spend.
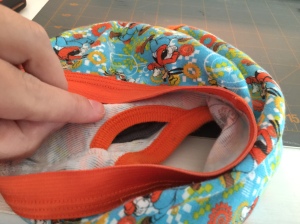 Since I have recently switched from pocket cloth diapers to All-in-ones for my youngest baby who is in diapers, I have a lot of extra
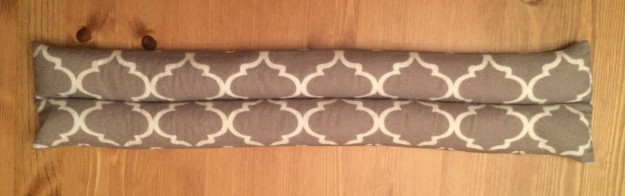
 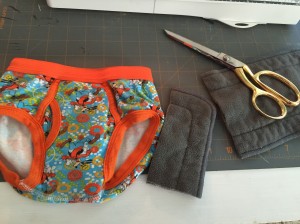 Cut your insert into pieces. For 2T/3T sized undies I cut a piece that was about 2″x4″.
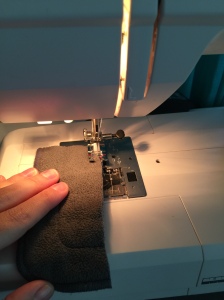 Sew the open edges down. This is simple enough to do and does not require any advanced sewing skills. I used a zig-zag stitch on my sewing machine to quickly sew down the open edges. You could just sew a straight line. Make sure to back stitch so it holds up well in the wash. You could also hand stitch the open edges down.
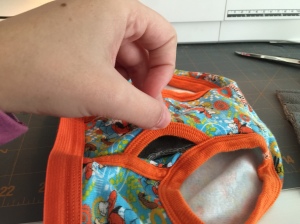
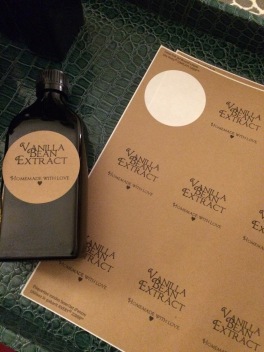
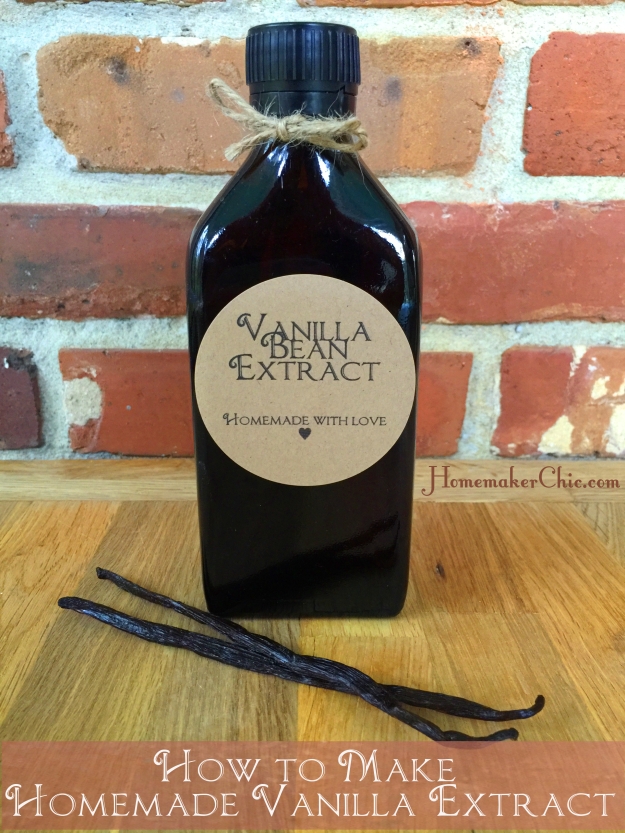 So, two Christmases ago, before I was the lucky mother of two children (and I had all sorts of free time), I decided to make all homemade gifts for my family. I made lovely gift baskets with lots of really cool homemade goodies including this glorious Vanilla Bean Extract. I couldn’t blog about it at the time because it would have spoiled the surprise for all my family. So I had big plans to blog about it in the fall of last year so my readers would have time to make this really thoughtful gift for their families in time for Christmas. Only I had a baby. So here we are in the last day of January 2016 and I’m not going to put it off anymore. Now you will have around 11 months to prepare to make Vanilla extract for everyone on your gift list. You could have a whole vanilla extract factory in that amount of time! Here’s how…
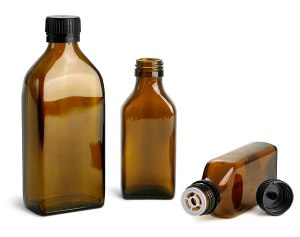
 I really love these


 Complete pre-sewn bags for all the crafters


